
If you missed The Great Brewventure: Part I, check it out here!
Hello again homebrewers! When we last left off with our Cream Ale, the wort (young beer) had been placed in a bucket with yeast to begin creating alcohol. Now in part two, we’re going to discuss the last few steps of making great beer, and do a taste test of our creation. Hopefully the result will be delicious. If not, you can always pawn the beer off on a college student who doesn’t know any better (those of legal drinking age, of course).
Step 1: Keep it Secret, Keep it Safe
Making beer is a biological process. Historically, the first humans who created beer did so by accident. They thought that certain containers in their grain houses magically turned water into alcohol, like Jesus at a wedding. You probably would have thought the same if one week your Nalgene suddenly produced a strange liquid that convinced you to leave your ex long, emotional voicemails. Of course, we all now know that yeast will turn sugars into alcohol given time and the right conditions. Therefore, the goals of the first fermentation are to be patient and keep the yeast pleased.
Happy yeast is yeast that is kept in a dark room at a stable temperature (which varies depending on the yeast). You’ll know that you’ve selected a good spot when the bubbler (CO2 releasing apparatus on the top of the lid) starts to “burp.” As the yeast multiplies and continues to eat the bubbling will intensify and eventually slow down. You can move on to the next step once the bubbling stops as all of the sugars in the wort will have been completely consumed.
Step 2: Keg and Carbonation
At this stage in the brewing process the beer is alcoholic but completely flat. We don’t want to drink flat beer, so the logical next step is to figure out a way to get the fizz back in your beverage. There are a number of methods to achieve carbonation. Our brew group uses a keg and CO2 tank because they’re fun toys to play with, and bottling every individual beer is a major pain. Using a keg is also a fantastic excuse to make a keezer.
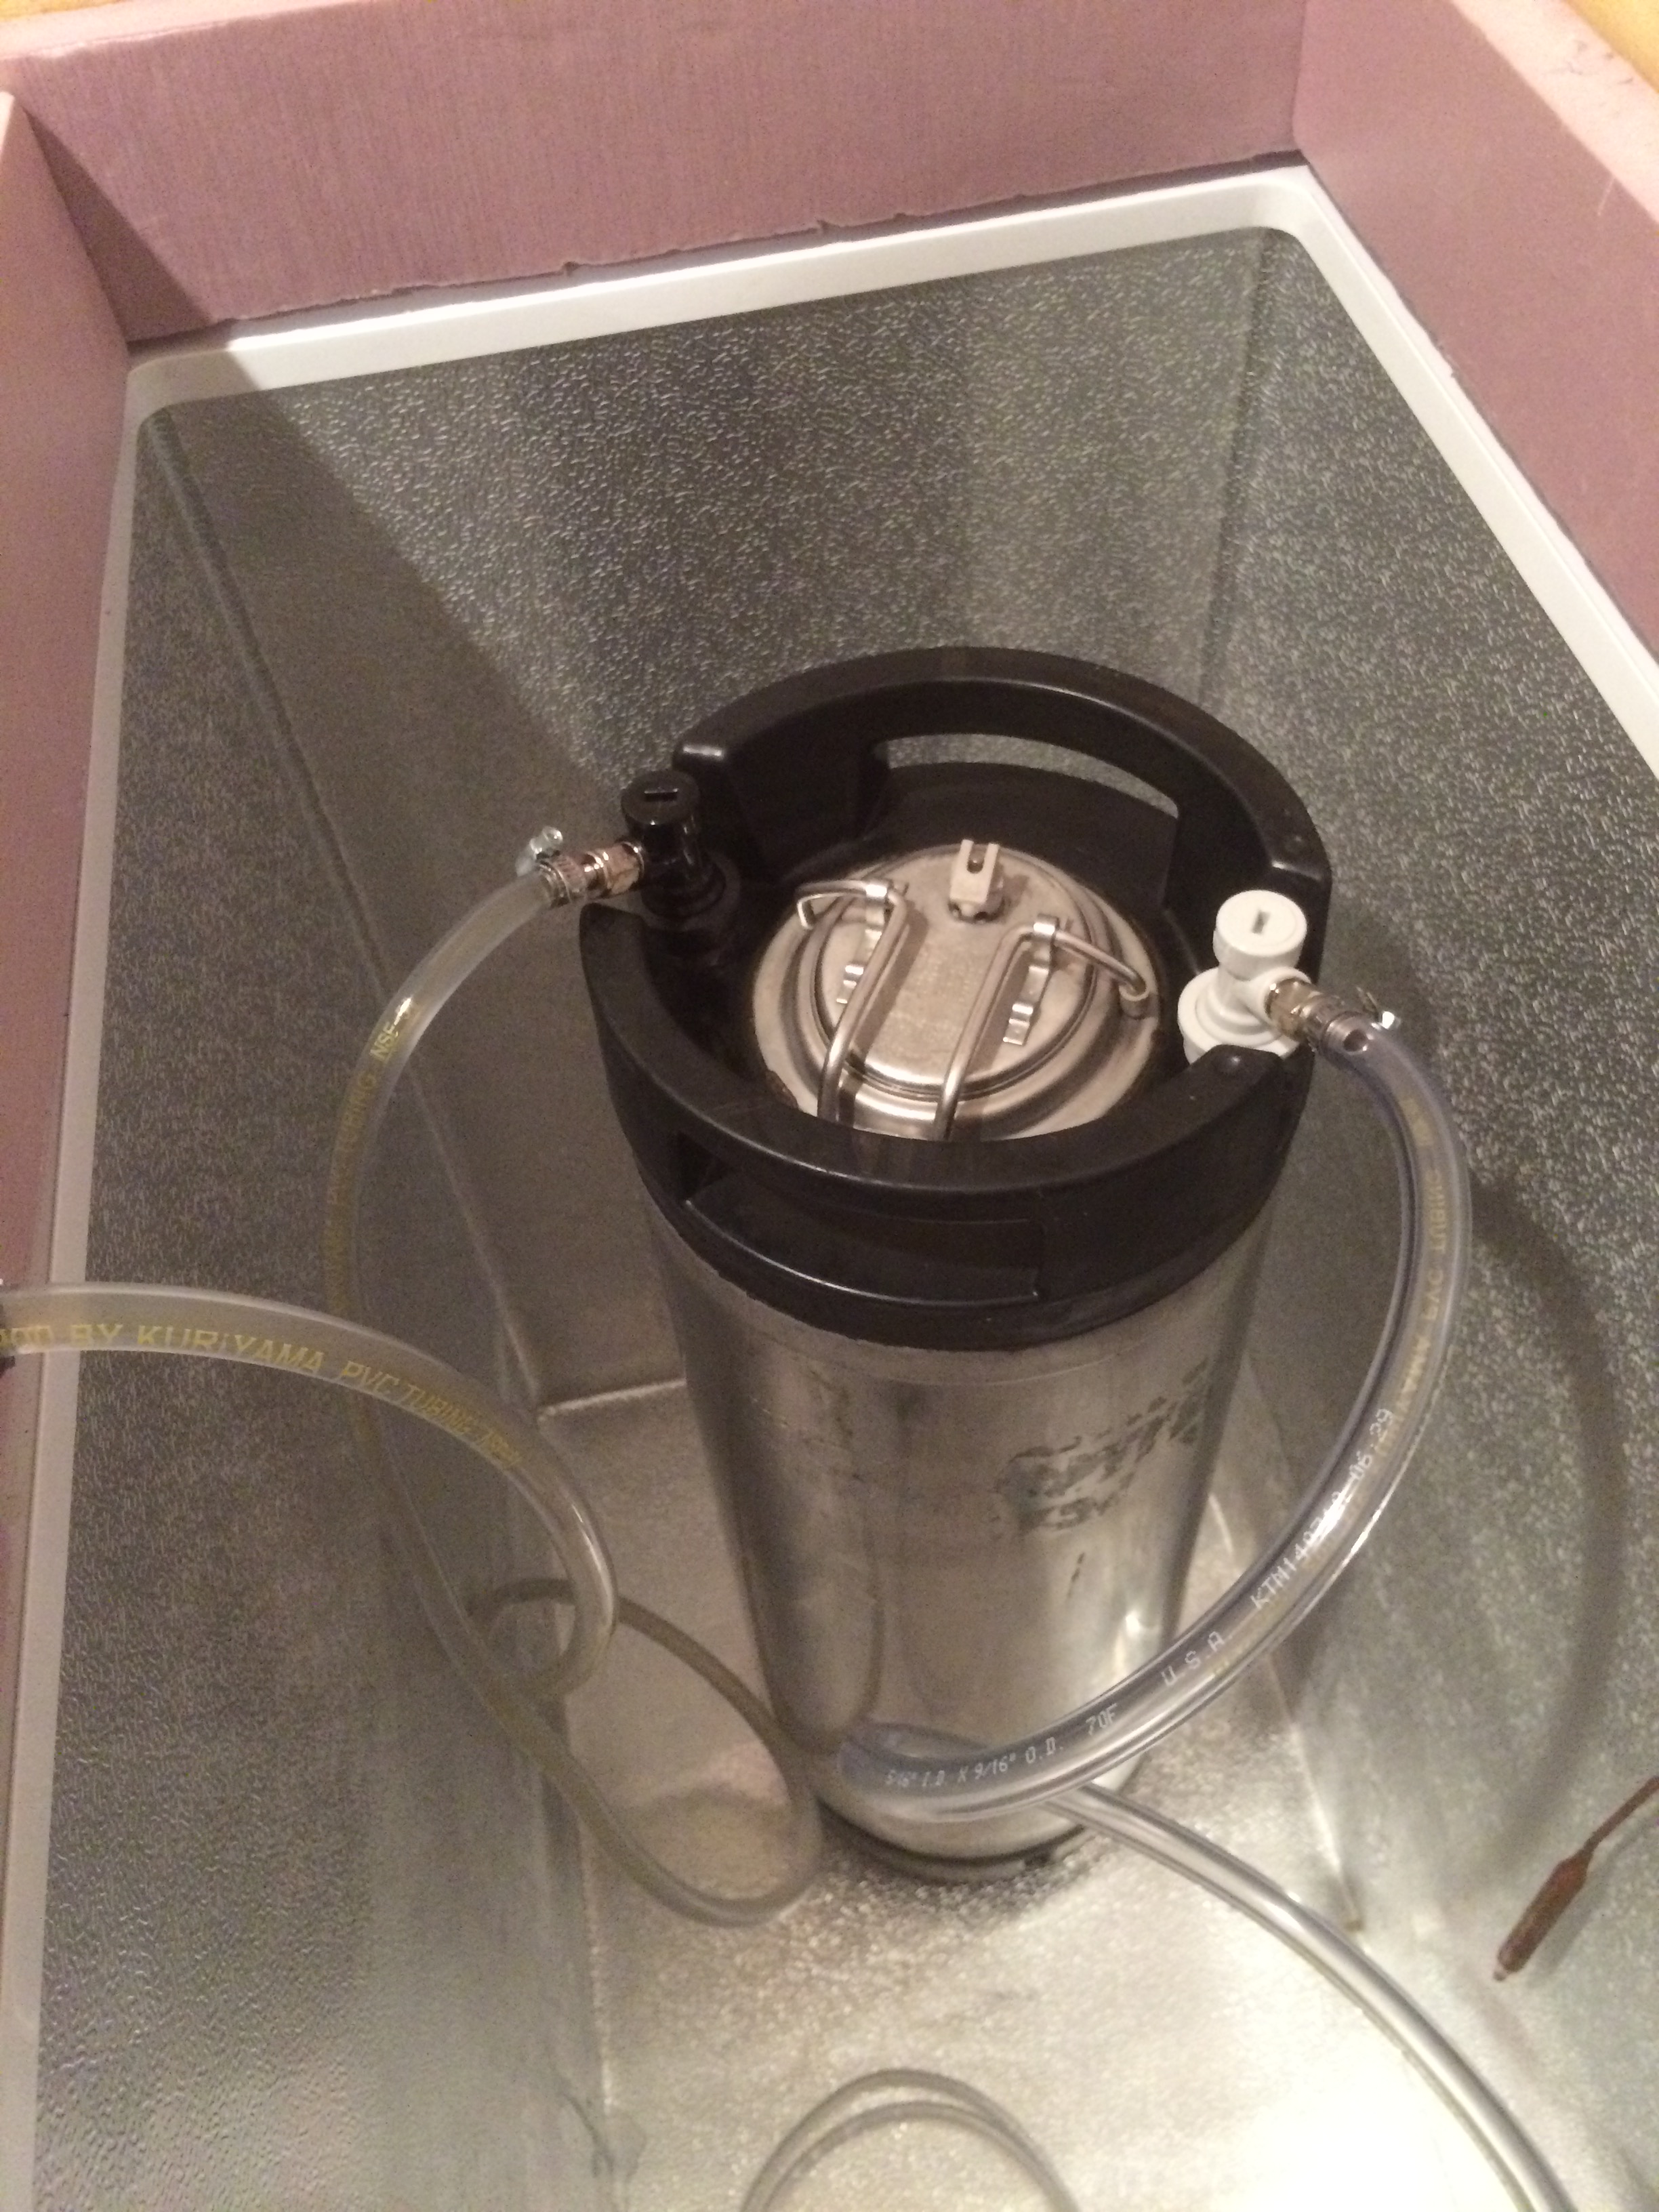
The newly alcoholic beer gets transferred into the keg, and brought down to temperature. Additionally, we took another gravity reading, and compared it to our OG (original gravity) to determine how alcoholic our concoction had become. To our dismay, the alcohol content was only about 4% ABV, which is on the low end of the spectrum for a Cream Ale. It will take a few cups to get a buzz.
The kegged and sufficiently cooled beer is then connected to the CO2 tank in order to carbonate via saturation. Other options for carbonating include inducing a second round of fermentation in a closed container, but that often leaves yeast sediment at the bottom of your bottle and glass. Generally speaking people don’t enjoy chewing their beer. We highly recommend purchasing a kegging setup if you’re serious about brewing. It’s quicker, cleaner, and sounds cool to talk about your sweet kegging setup (that’s what cool people talk about, right?).

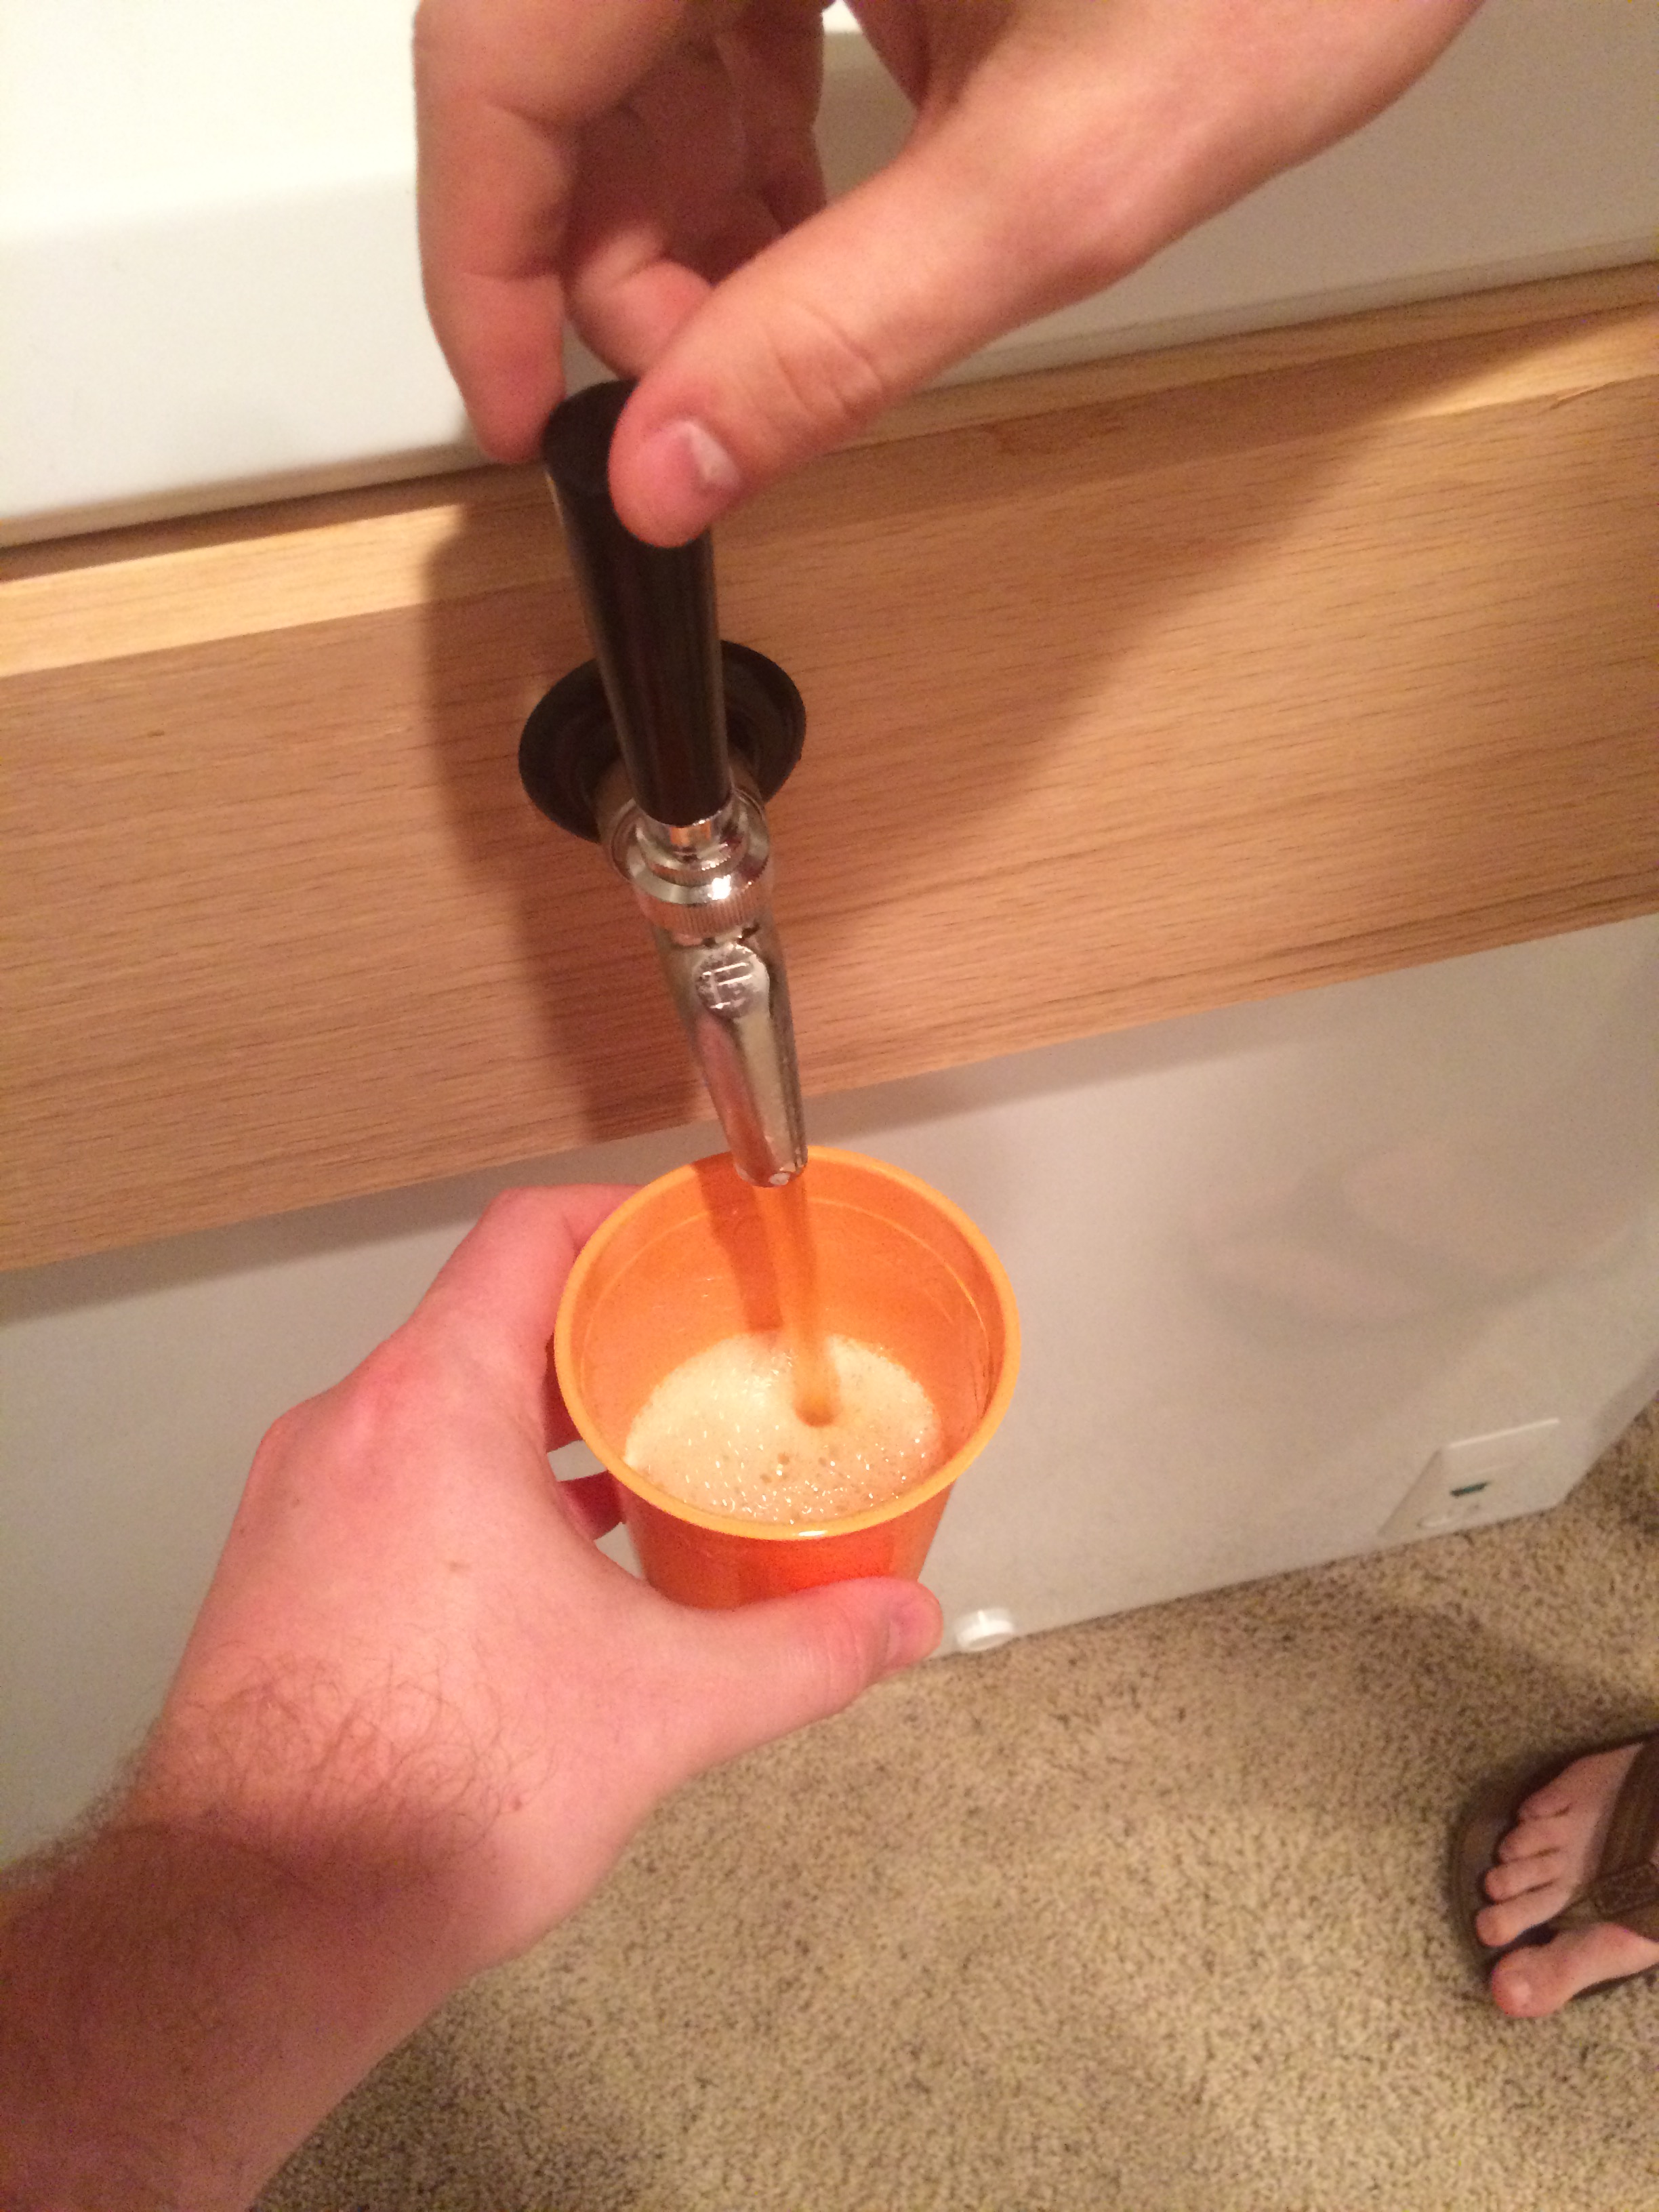
Step 3: Pour, Taste, Enjoy
The time has come! Our patience and diligence has paid off and our beer has become fully carbonated. Now we can try our creation. Engage beer snobbery.
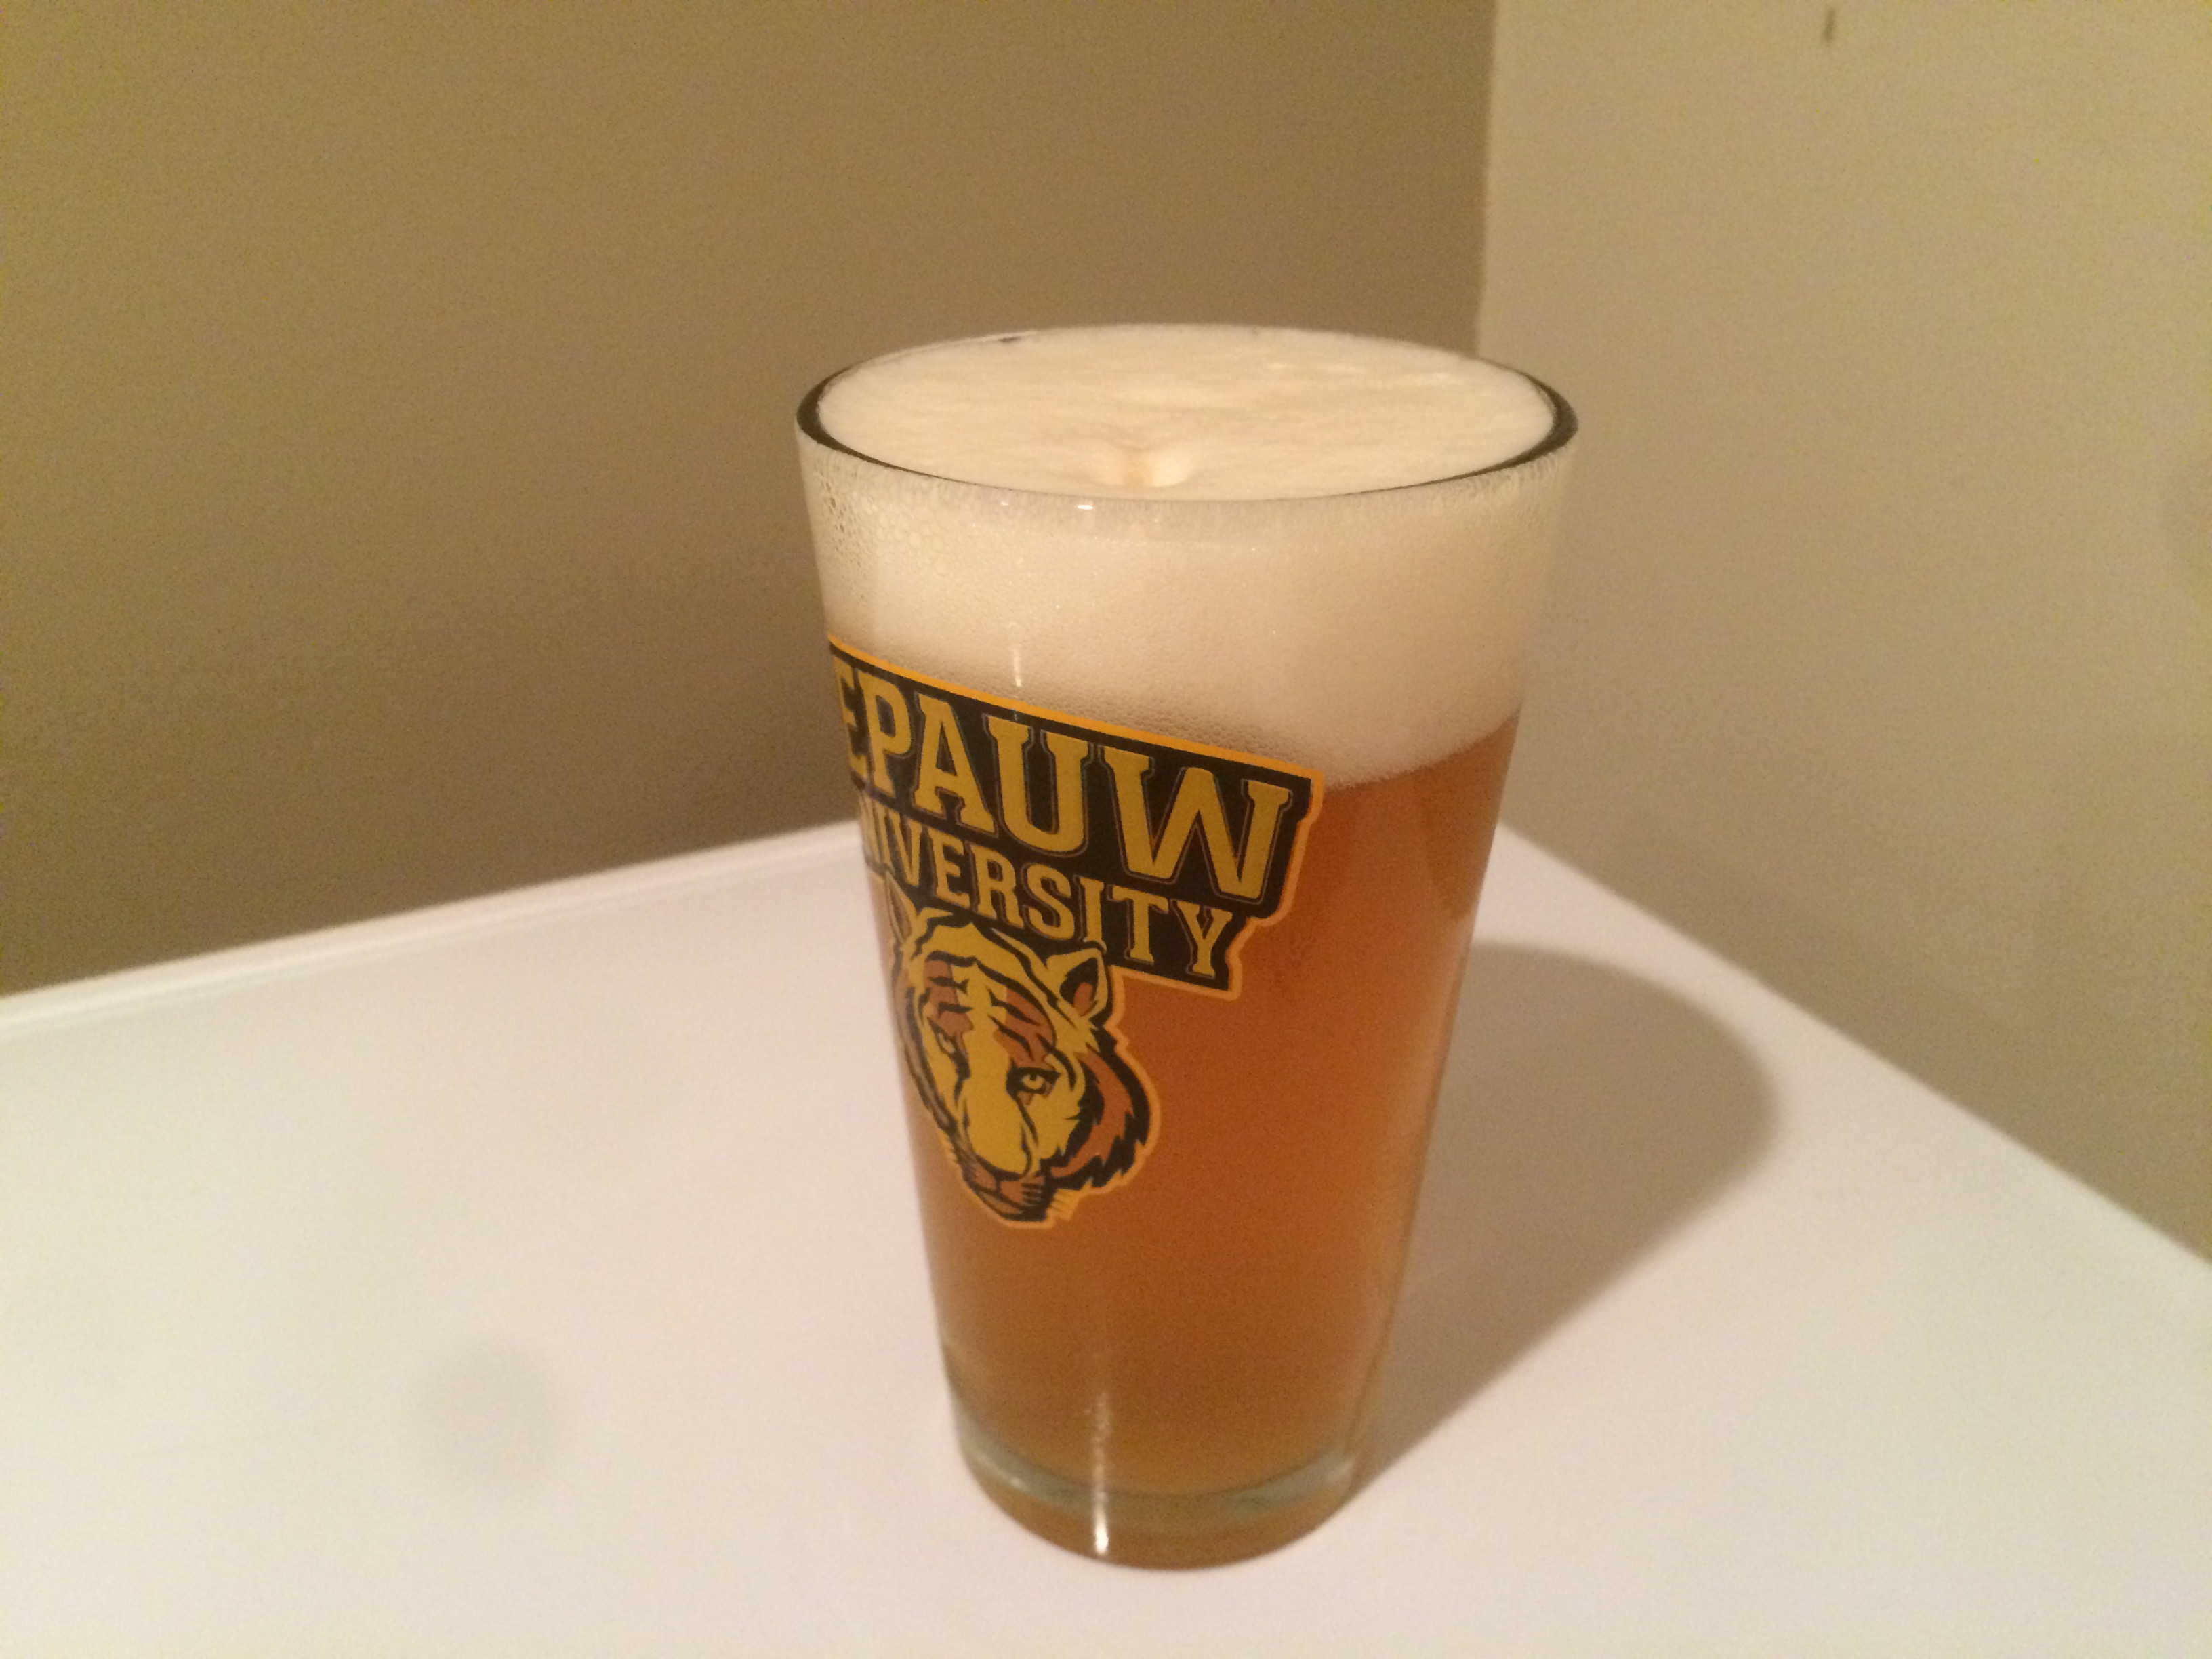
First, we look at the color of the beer. Trained evaluators can tell a lot just based on the hue of your brew. For instance, our first crack at brewing was tested by a certified taster who could tell, solely on the color, that we had done the boil on an electric coil stove. Apparently the heat from the coil is more concentrated causing extra caramelization to occur thus darkening your beer. We’ve since upgraded to propane burners and a quick cooling-wort chiller, both of which have resulted in clearer and more appropriately colored beverages. Our Cream Ale is spot on with a nice pale gold.
Second, we taste the beer. The first taste is always tentative because you’re on the lookout for warning signs. Soapy beer? You left the it in the fermentation vessel too long after fermentation had stopped and are literally tasting soap particles (fatty acids that break down in the trub). Astringent and bitter? You boiled for too long. Basically every off flavor can be traced back to a specific cause, like a monument to your colossal failure. But that’s ok. Everyone brews a dud once in a while. Luckily, our Cream Ale is delicious!

Cream Ales are built for summer. They’re light of body like a lager, and can be just as refreshing. There weren’t many hops in this brew and the result is nice: it’s not bitter at all. And, given the lower alcohol content, this beer would be perfect for a day out on the lake. You can drink and drink without feeling like a sundried tomato on an Arizona sidewalk. Overall, we’re very pleased with the result.
Which brings us to the final step. Enjoy! An average brew session yields five gallons so you have time to nurse a batch. Then, it’s right back to the drawing board for the next one.
It’s my hope that these two columns will have inspired you to get out there and do some brewing of your own. Homebrewing is deceptively rewarding. Trying your first sip of a new batch is an excitement that never dwindles with repetition. Each subsequent attempt leaves you with a little more knowledge and slightly better results. And, in what could be the best reward, you gain a fascination and real appreciation for the pros. I’m not talking about Miller or Anheuser-Busch here. I’m talking about Sun King, Triton, Bier, Flat12, etc. These local Indy joints are producing interesting beverages at a consistently high level of quality and quantity. Beer is flowing through Indy’s veins. Become a part of it!
Written by: Brian Banta
